When you click on links to various merchants on this site and make a purchase, this can result in this site earning a commission. Affiliate programs and affiliations include, but are not limited to, the eBay Partner Network.
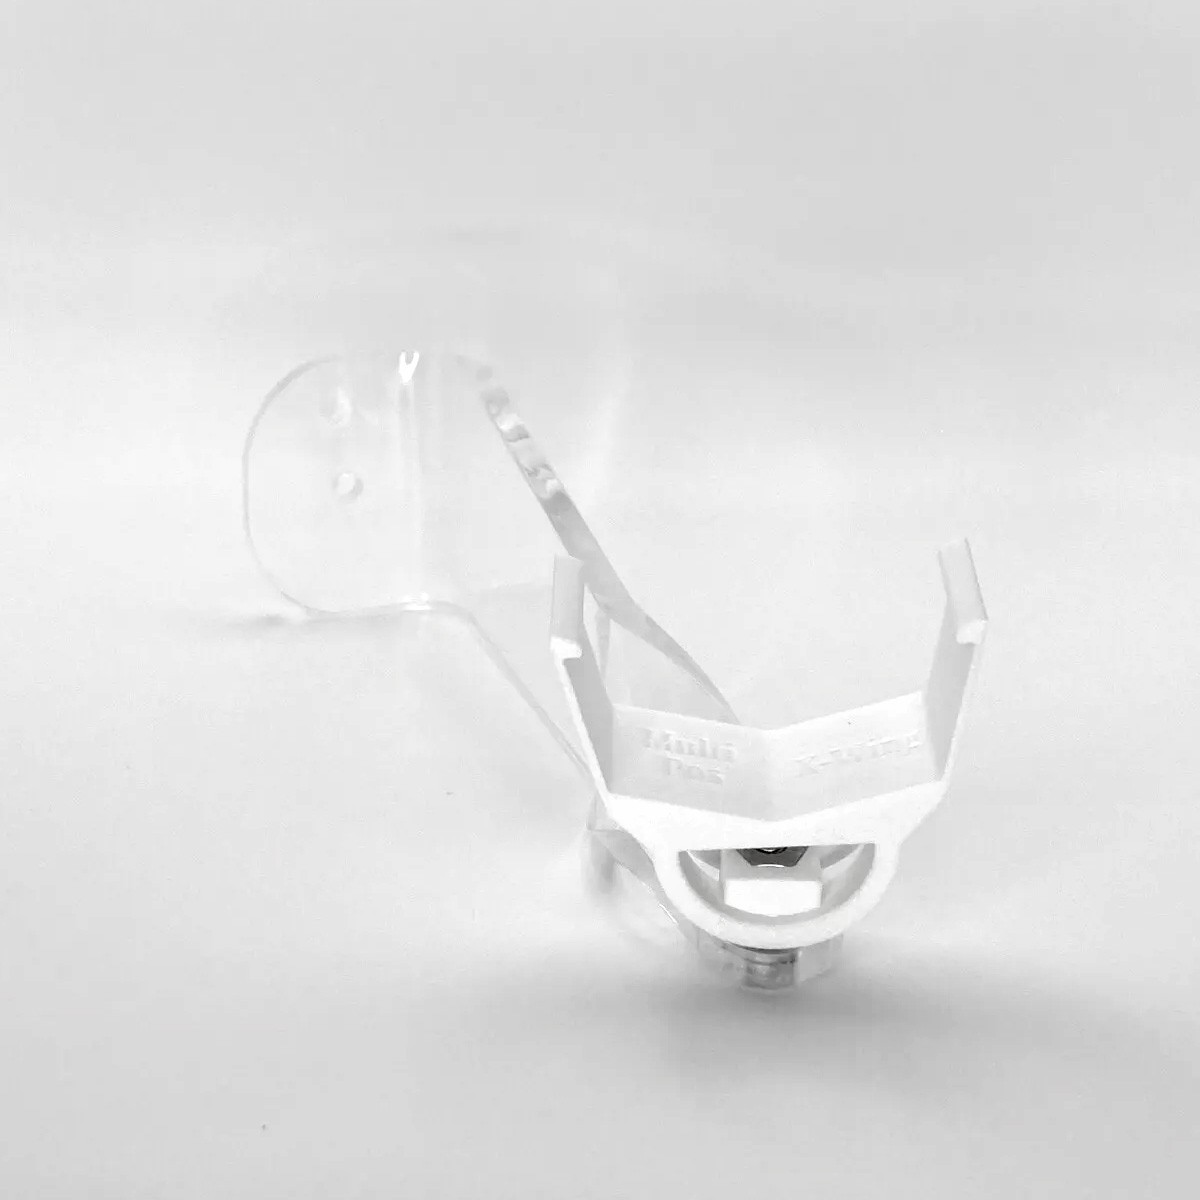
This listing is for custom made mounting systems for displaying your vintage Star Wars ships and vehicles on your wall. These multi-directional mounts are designed to fit vintage X-Wing Fighters (standard white and battle damaged),vintage TIE Fighters (standard white, battle damaged, Darth Vader\'s, and the TIE Interceptor), and vintage Snowspeeders. There are later ships that use the same molds as the vintage. If you know it is the same mold, it will fit. If you are in doubt, please ask before ordering.
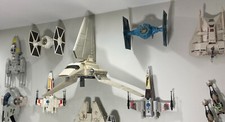
There IS a difference in the wing depth between vintage Kenner and Palitoy X-Wings - please make sure to select the correct model.If you have a larger modern X-Wing (Saga, TLC, TVC), see this offer these in white and gray. These mounts can rotate around the mount axis, the screw where the mount connects to the acrylic bracket, and the bracket can swivel on the wall - giving you an amazing number of angles you can position your ship at. You are probably way more creative than me - my pics give you some examples, but my customers always find even better ways to use my wall mounts!
By pairing mounts, you easily can set up chase scenes on your wall. It\'s easy to set up a target ship, and the set up a chase ship that appears to be targeting the first ship.
To install:Attach the acrylic bracket to the wall with the included screw and optional drywall anchor. If you are NOT on a stud, use the anchor.
X-Wings simply clip the mount into the wing area. Make sure the hooks of the mount are set into the crevice where the wings enter.
TIE Fighters:The 2 retaining rods are connected to each other and magnetically connect to the mount. Slide this retaining rod clip out of the mount. Slide the mount over the battery compartment. Replace the retaining rod clip - it has some flexibility to it - if the rods are not perfectly aligning to the screw holes on the TIE, you can flex them into place. The curve of the clip follows the curve of the mount.
Snowspeeders:Remove the screw that holds the small clip on the mount. Take the clip portion, and slide it in to the landing gear area - the thicker hook goes into the the landing gear hole. Holding the spring loaded landing gear in can be a little tricky. Slide the rest of the mount in next to it, so it goes back together in the same way that it was shipped to you, and screw it back together. Needle nose pliers make getting the screw back into position a LOT easier.
When the mount (any style) is on the ship, attach the mount to the acrylic bracket. This may take two hands! Use of a wadded paper towel, tissue (my packaging tissue paper works great), sponge, etc. crammed into the arches can hold the locknut in place while you are installing. Otherwise, when you push the screw up into the locknut, it may want to jump out of position.
Tighten just enough that you can pivot things. Rotate everything into the position you want, then tighten the screw. A stubby Philip\'s head is helpful on the long wing TIEs.
Visit my store for other hard to find vintage Star Wars parts, repair kits, and vehicle wall mounting hangers!
AboutGalactic Collector:I specialize in designing and creating high-quality 3D printed parts for vintage Star Wars toys. My expertise lies in crafting custom wall-mount brackets to securely and stylishly display vintage vehicles. Additionally, I offer a range of reproduction parts designed to closely resemble the originals while being affordable and practical for display purposes. My goal is to provide accessible solutions that enhance the look of your vintage collection.