When you click on links to various merchants on this site and make a purchase, this can result in this site earning a commission. Affiliate programs and affiliations include, but are not limited to, the eBay Partner Network.
1. Product Description
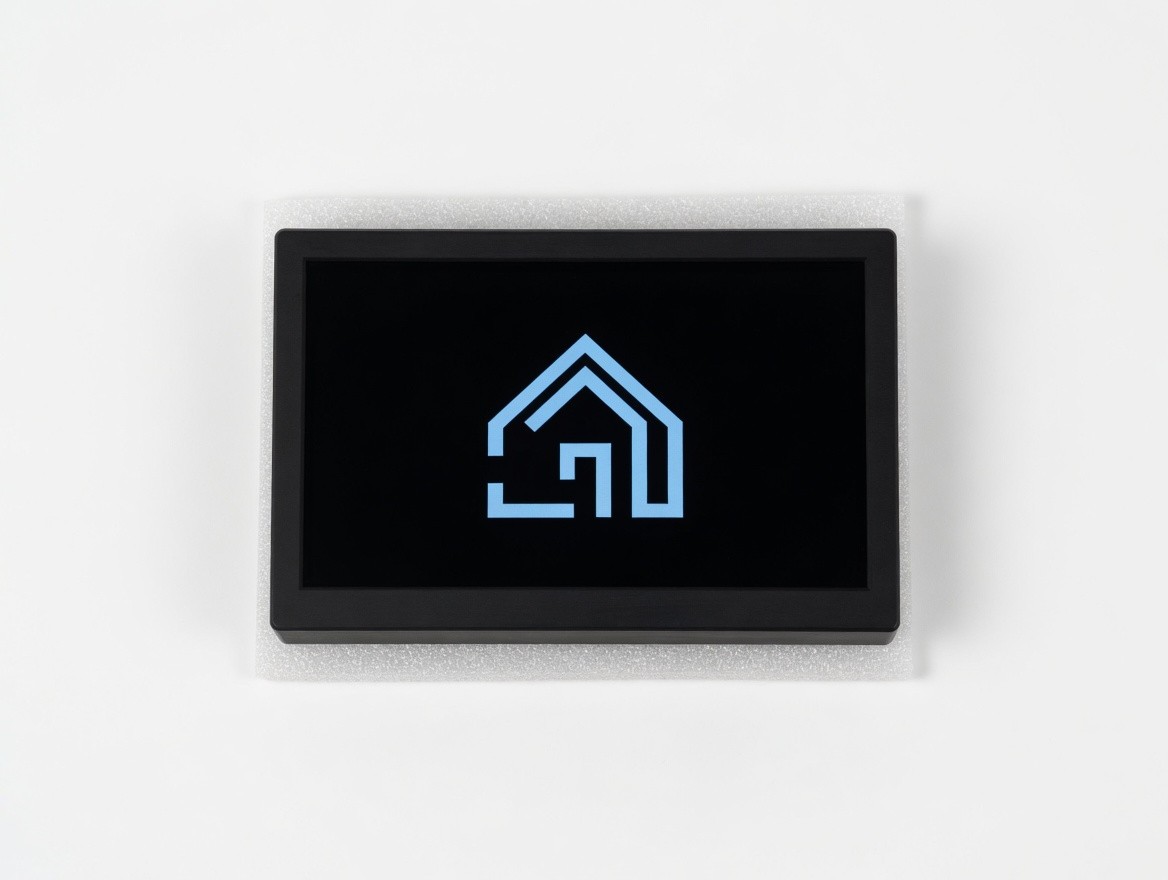
The HAUI Touch Display is a sleek, purpose-built wall-mount user interface designed for Home Assistant or any similar home automation dashboards like OpenHAB, Domoticz, ioBroker, Gladys Assistant. It transforms any standard single-gang electrical box into a beautiful, always-available touchscreen control panel for your smart home. It\'s also applicable to a fixed display of any URL you find useful.
Running a full Home Assistant dashboard directly in your browser, HAUI provides instant access to lights, scenes, climate, security, and any other automation you have configured — all with a responsive, touch-optimized experience that feels native to your home.
Key features include:
- Flush wall-mount design with clean, minimal bezels
- Easy USB-powered installation (replaces existing switches)
- Built-in Setup Wizard for Wi-Fi, MQTT, and backlight control
- MQTT integration for dynamic brightness, timeouts, and diagnostics directly in Home Assistant
- Automatic sleep/dim functionality for energy efficiency and longevity
HAUI is the perfect modification of a full-page OS turned into a dedicated wall-mounted Home Assistant interface — simple, reliable, and always ready.
2. Product Specifications Display 7-inch capacitive touchscreen Mounting Style Wall flush (fits standard single-gang electrical box) Input Voltage 120 VAC ±10% Maximum Current 1 A Maximum Ambient Temperature 35°C (95°F) Warranty 3 months 3. Mechanical Installation ⚠️ Important: Electrical work should be performed by a certified electrical technician. Always turn off power at the circuit breaker before installation. Technician Steps (Electrical Wiring) Step 1: Remove the current wall switch(es) and separate the Line (hot) and Neutral wires. Ground connection is not required — the included USB charger has internal protections. Step 2: Connect the USB charger wires: Black → Line (hot), White → Neutral.
Step 3: Connect the short USB cable (provided with HAUI) to the USB charger. Tuck the wires neatly inside the electrical box together with the charger, leaving at least 1 inch of clearance for the HAUI unit to sit flush. User Steps (Final Assembly) Step 4: With power safely restored and wires secured, connect the USB cable to the HAUI display.
Step 5: Align the top of the HAUI interface with the mounting bracket, then gently press the bottom tabs to snap it securely into place.
Step 6: Once the top is aligned, bring the display towards the bracket until the bottom snaps of the bracket engage with the display.
4. Powering Up & Setup Wizard
Once the USB cable is connected and power is applied, the HAUI will automatically boot and launch the Setup Wizard.
Follow the on-screen steps in sequence to configure:
- Wi-Fi connection
- Hostname
- MQTT connection (optional but recommended)
- Backlight control service
MQTT Integration: When connected, MQTT allows Home Assistant to dynamically adjust screen brightness, dim timeout, and sleep timeout. It also provides useful diagnostics (such as undervoltage events) directly in your dashboard.
If MQTT is not configured, the unit will use safe default settings for sleep and dimming behavior.
On the final wizard screen, tap Reboot. The HAUI will restart and load directly into the Home Assistant dashboard URL you entered during setup.